Topic 2 Gears
In this blog I will be talking about a new topic I learnt this week: Gears⚙
Topics I will be covering:
-The definition of gear module, pitch circular diameter and the relationship between gear module, pitch circular diameter and number of teeth
-The relationship between gear ratio (speed ratio) and output speed, between gear ratio and torque for a pair of gears
-How I can design a better hand-squeezed fan, including the sketches
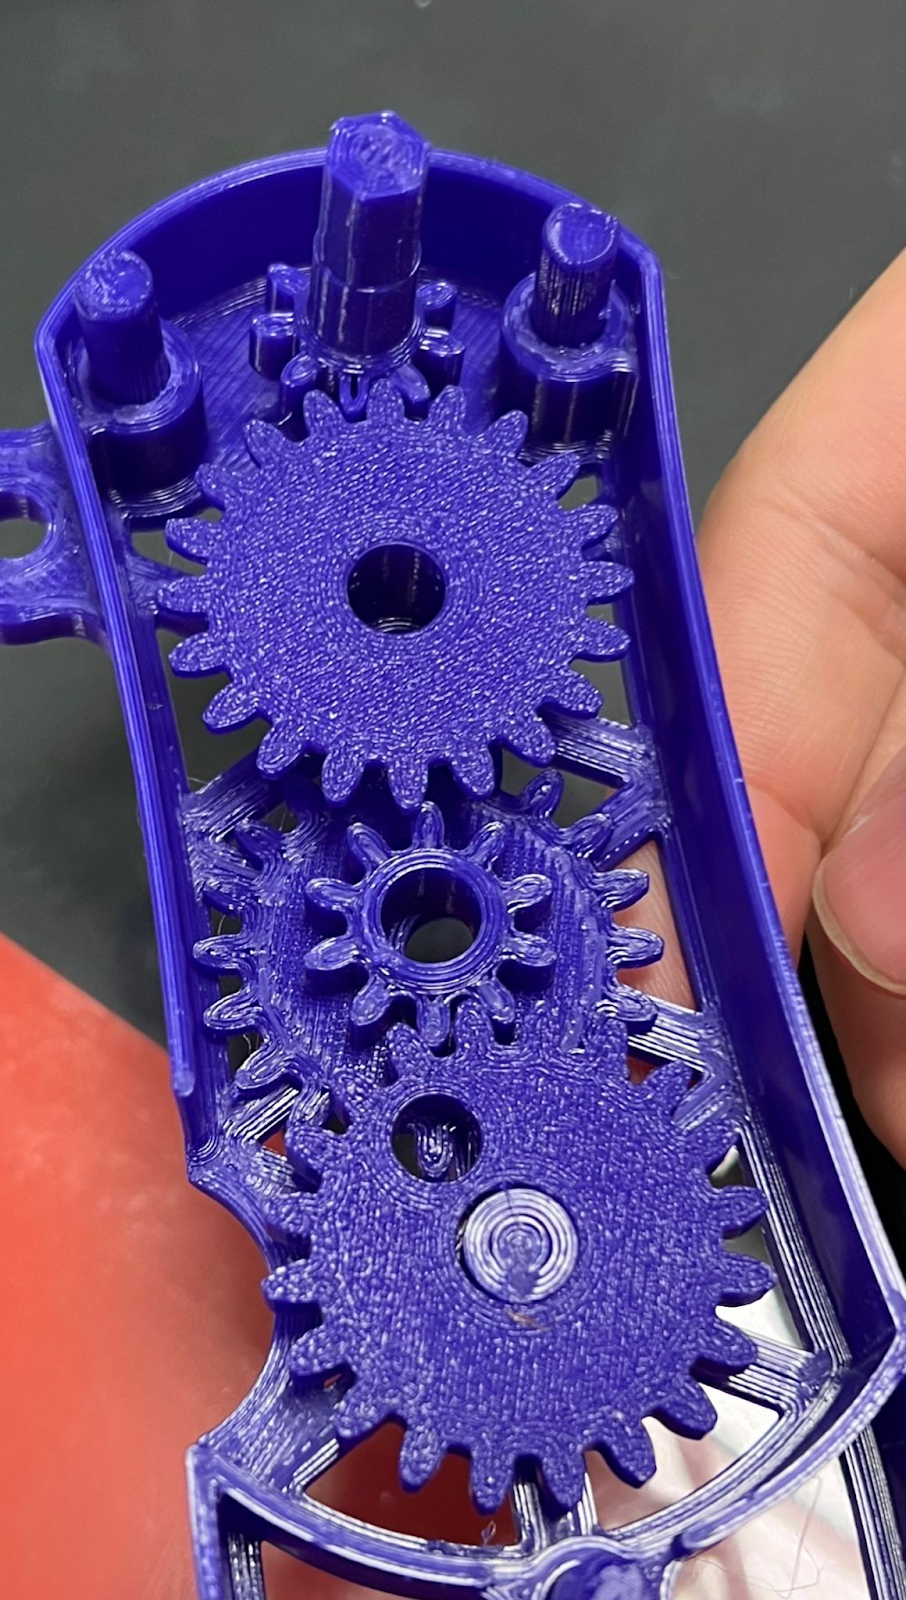
-How my practical team arranged the gears provided in the practical to raise the water bottle, consisting of:
a. Calculation of the gear ratio (speed ratio)
b. The photo of the actual gear layout.
c. Calculation of the number of revolutions required to rotate the crank handle.
d. The video of the turning of the gears to lift the water bottle.
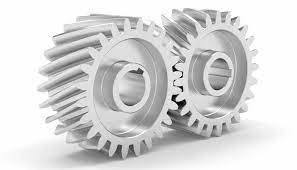
To start of, a gear is a wheel with teeths on it's rim. Below is an example of what a gear will look like.
1. These are the definition of gear module, pitch circular diameter and the relationship between gear module, pitch circular diameter and number of teeth
Gears are used to change direction of rotation, transmit force and increase speed.
Gear module: Indicates the size of the gear tooth
Gear pitch circular diameter: Imaginary circle that passes through the contact point between two mashing gears
Formula for Gear module: Diameter of gear/Number of teeth
Gear module = Pitch circular diamater/ Number of teeth
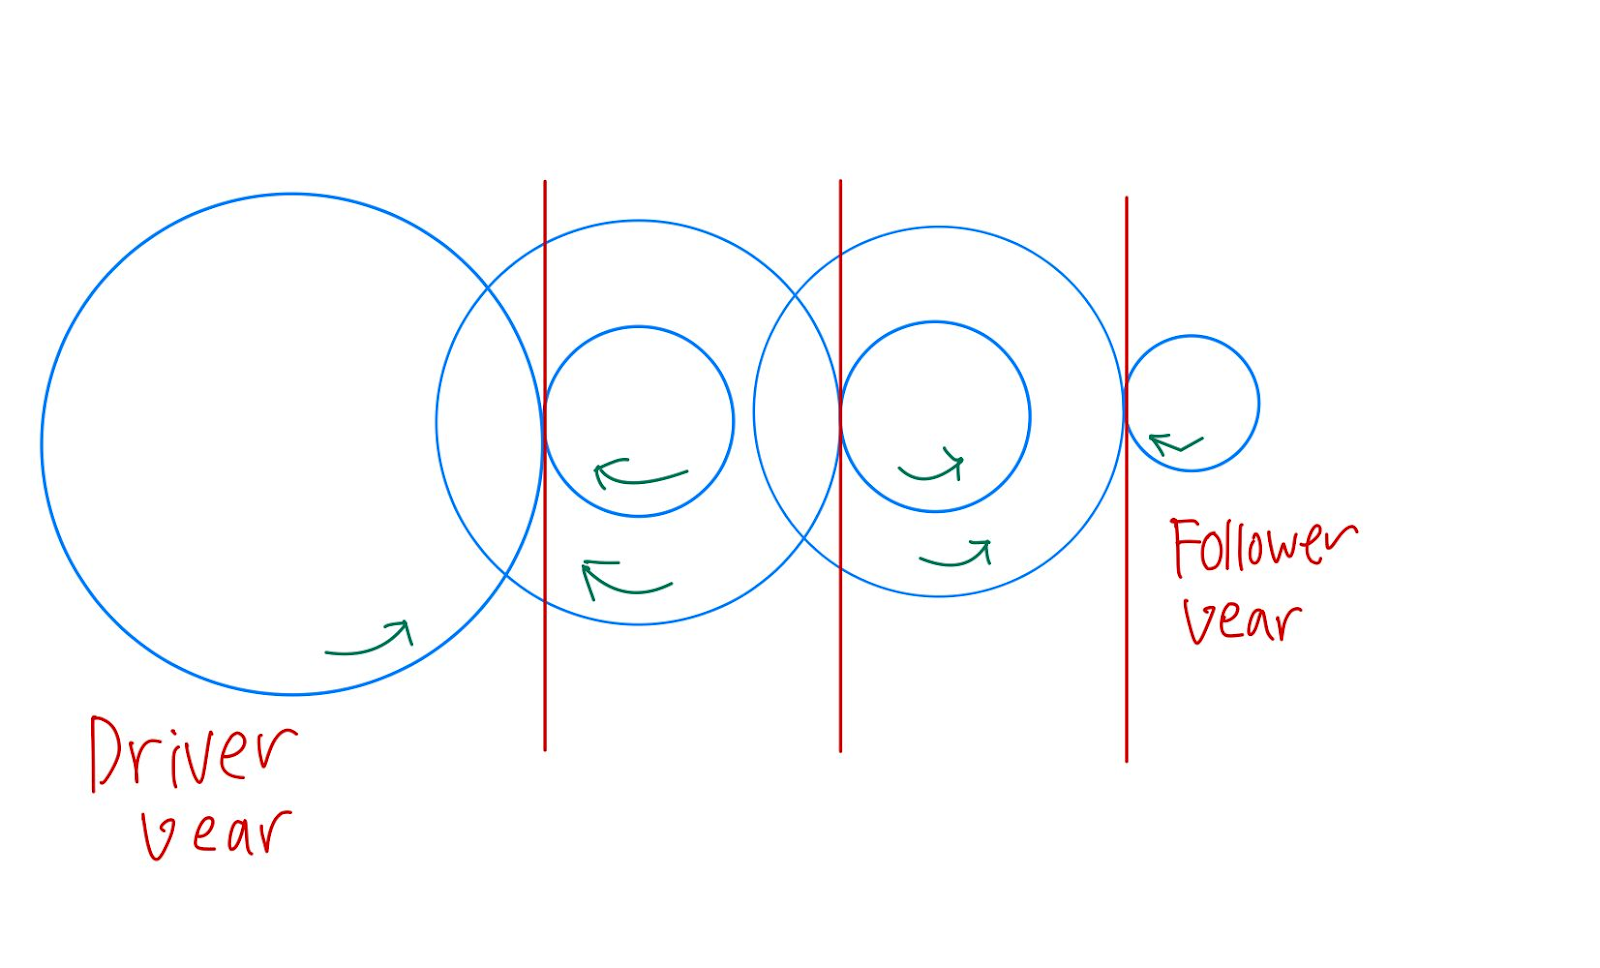
2. Below is the relationship between gear ratio (speed ratio) and output speed for a pair of gears
Speed ratio: No of teeth of output/ No of teeth of input
Lower the ratio the higher the speed => speed multiplier
Higher the ratio the lower the speed
Below is the relationship between gear ratio and torque for a pair of gears.
Torque ratio: No of teeth of output/ No of teeth of input
Higher the ratio the higher the torque => torque multiplier
Lower the ratio the lower the torque
3. Below are the proposed design to make the hand-squeezed fan better:
In order to make the fan more efficient, more speed is required, thus the gear ratio should be decreased. This means that the input gear should be bigger and the output gear should be smaller.

a. Calculation of the gear ratio (speed ratio)

My team's Gear Ratio: 40/30 x 30/12 x 40/20 = 6.67
b. The photo of the actual gear layout
c. Calculation of the number of revolutions required to rotate the crank handle
2πx31= 194.78mm
Distance the bottle needs to move above ground =200mm
Amount of revolution of output gear= 200mm/194.78mm = 1.03 revolution
Amount of revolution of input gear= 1.03x6.67 =6.87
d. The video of the turning of the gears to lift the water bottle
5. Below is my Learning Reflection on the gears activities
Throughout this practical I learnt more about Gears than I did as compared to ICPD last semester. Last semester all we learnt was that Gear was one of the working mechanisms that we could implement into our chemical devices. However in this practical we went into great details on how gears work. I now know that there are different kinds of gears like compound gears and single gears. There is also a method to calculate gear ratio, speed ratio etc. One should always take the no of teeth of the follower gear/ no of teeth of the driver gear.
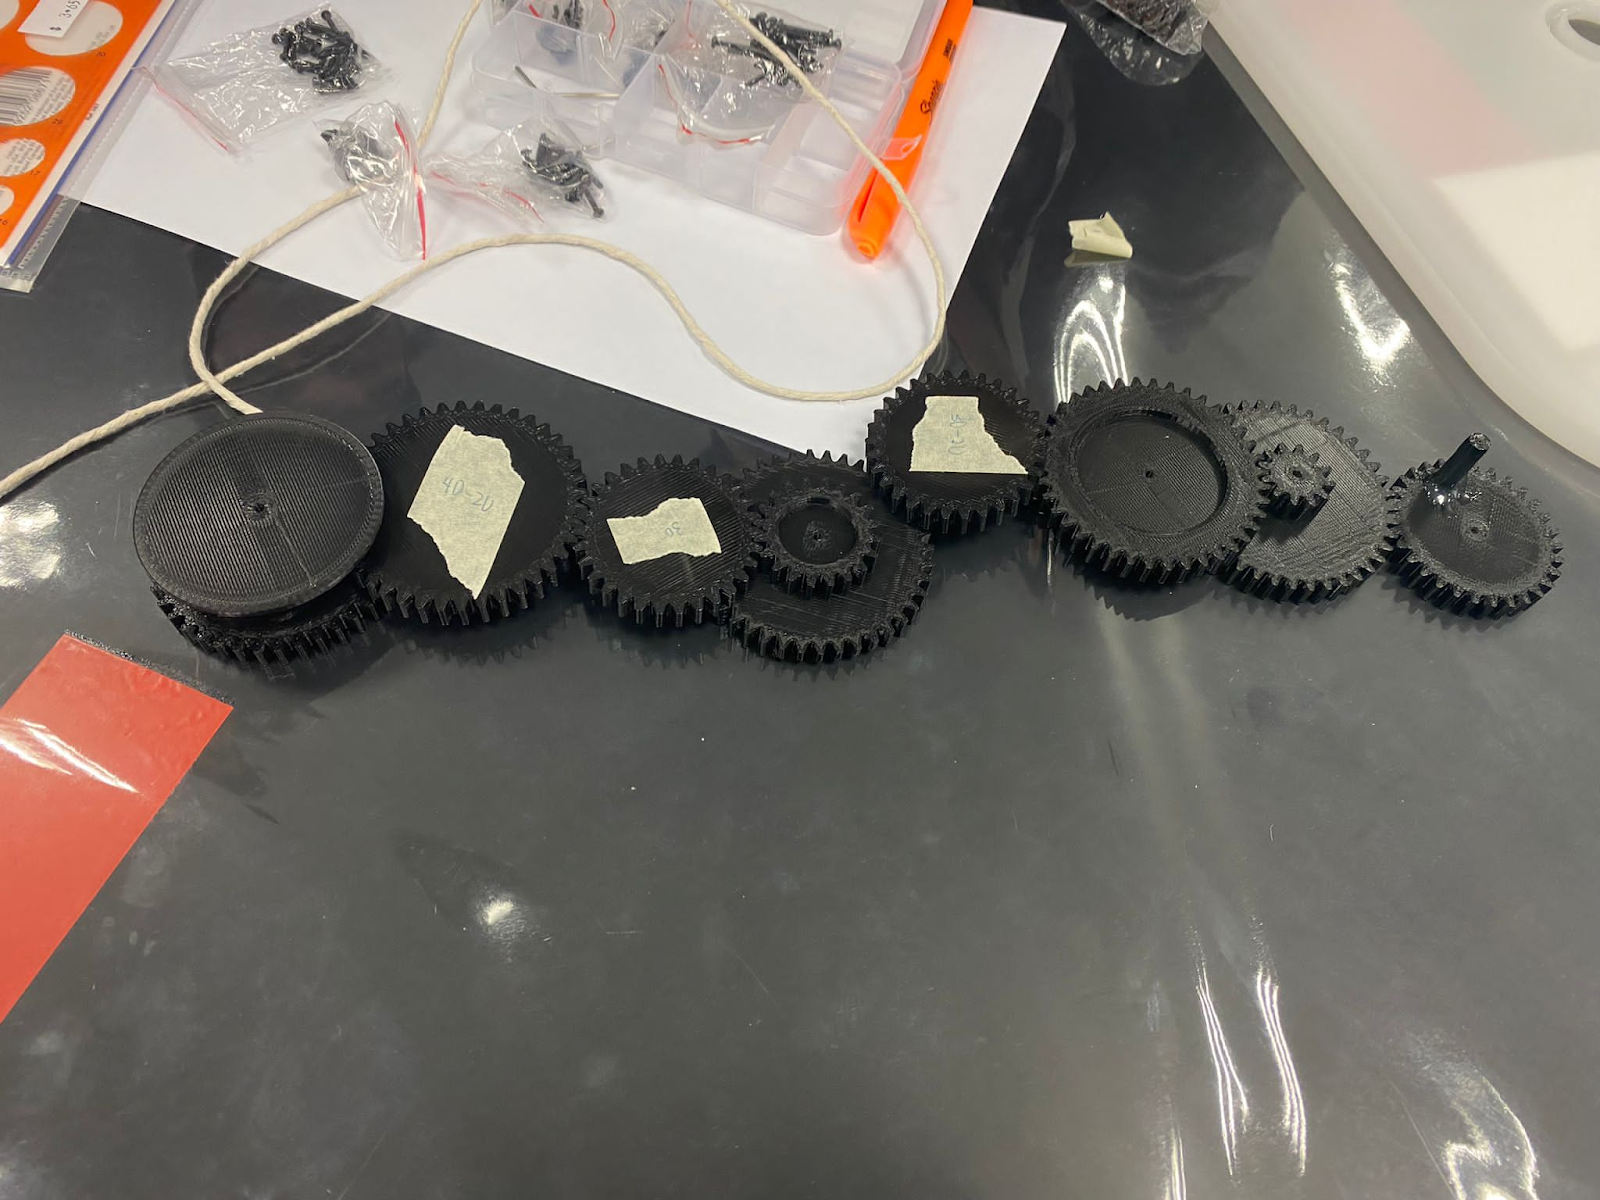
During the practical, our first task was to lift a 600ml plastic bottle with the minimum force. At first we were confused and did not know that the minimum force equates to the highest gear ratio. After we figured it out, we were then faced with another problem. Some of the gears that were given to us could not be combined together as some were too big and some were too small, hence we needed to compromise on our gear ratio in order to fit all the gears together.
For the second task, we had to assemble a hand squeezed fan. Time was very limited as we took too long to finish the first task, hence we had to rush through this second activity. However we realized that due to our knowledge from the first task, it was easier to see how the gears fit together for the hand squeezed fan.
All in all, this practical was a very enriching one and it was pretty fun. I hope there are more practicals like that, that will encourage us to use what we learnt in the pre-prac packages.
Comments
Post a Comment