Project Development
11) Type my Learning reflection on the overall project development.

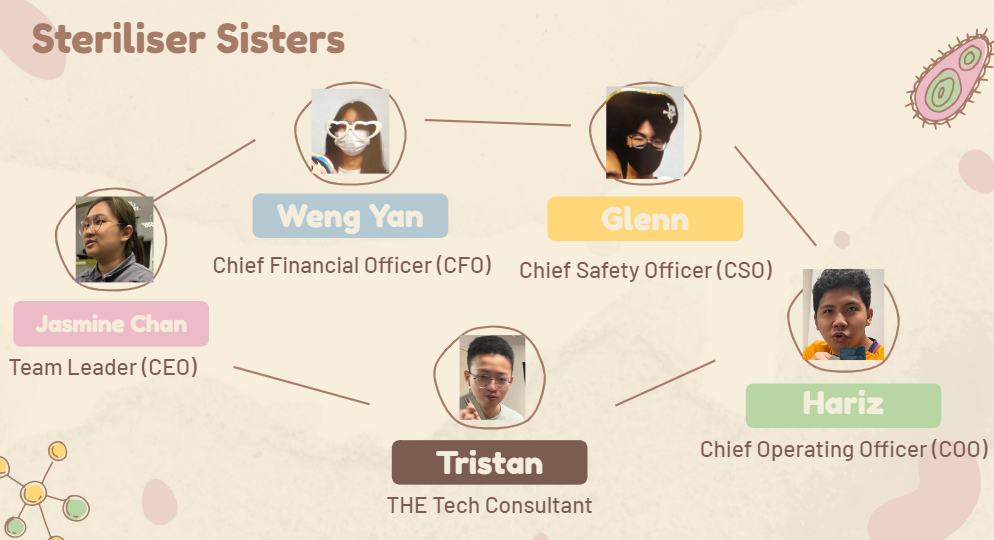
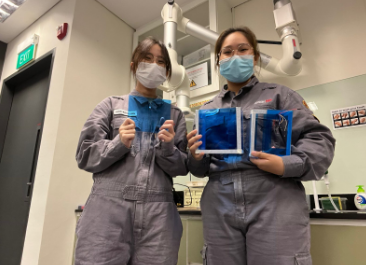
CFO - How Weng Yan
Tech Support - Tristan Neo


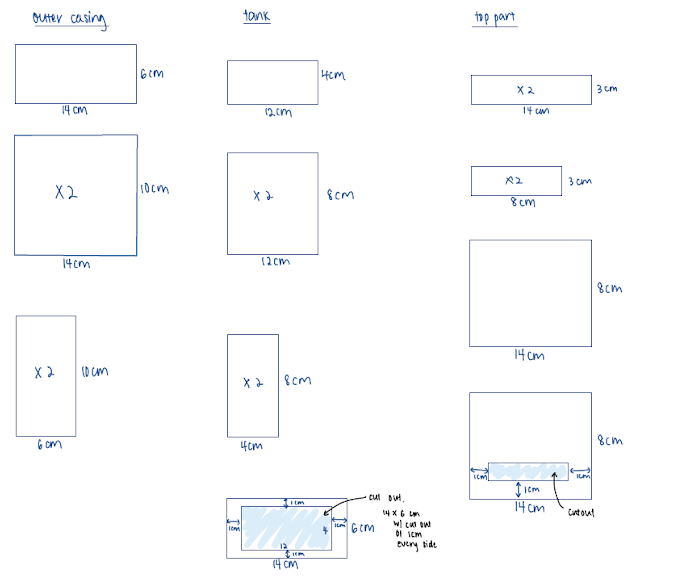
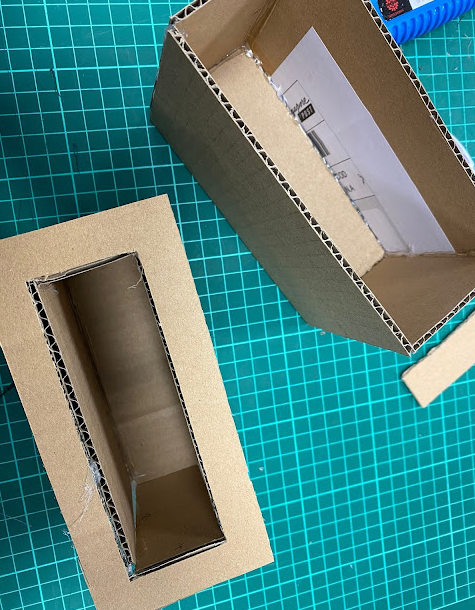
Afterwards we started on the cardboard prototype.
Step 1: Cutting and drawing out the outer casing


Step 2: Cutting and drawing out the tank

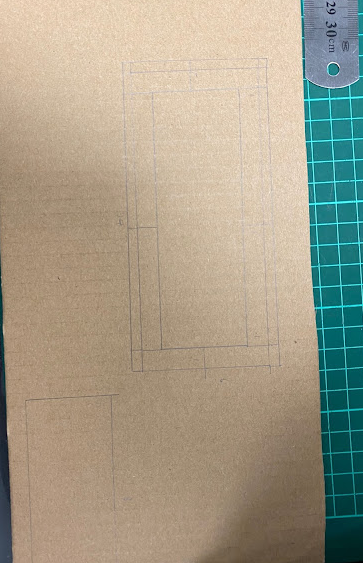

Step 3: Assembling the tank
Step 4: Cutting and drawing of top casing

Step5: Assembling the top casing
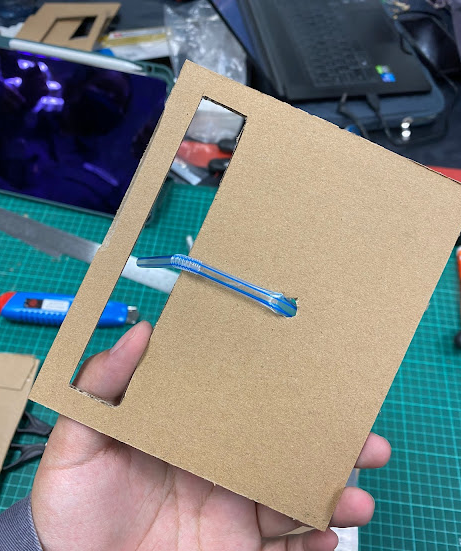
(straw inserted to mimic tube to transport alcohol)

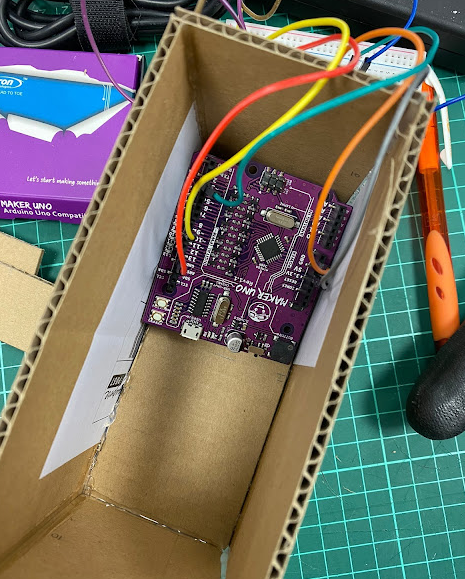
Step6: Inserting Arduino into outer tank and taking notes of changes that had to be made
Part 2. Design of Outer box and Tank CAD (done by Jasmine) https://cp5070-2022-2b04-group1-jasmine-chan.blogspot.com/p/project-development.html
Part 3. Design of Top Cover CAD (done by ME, Weng Yan).
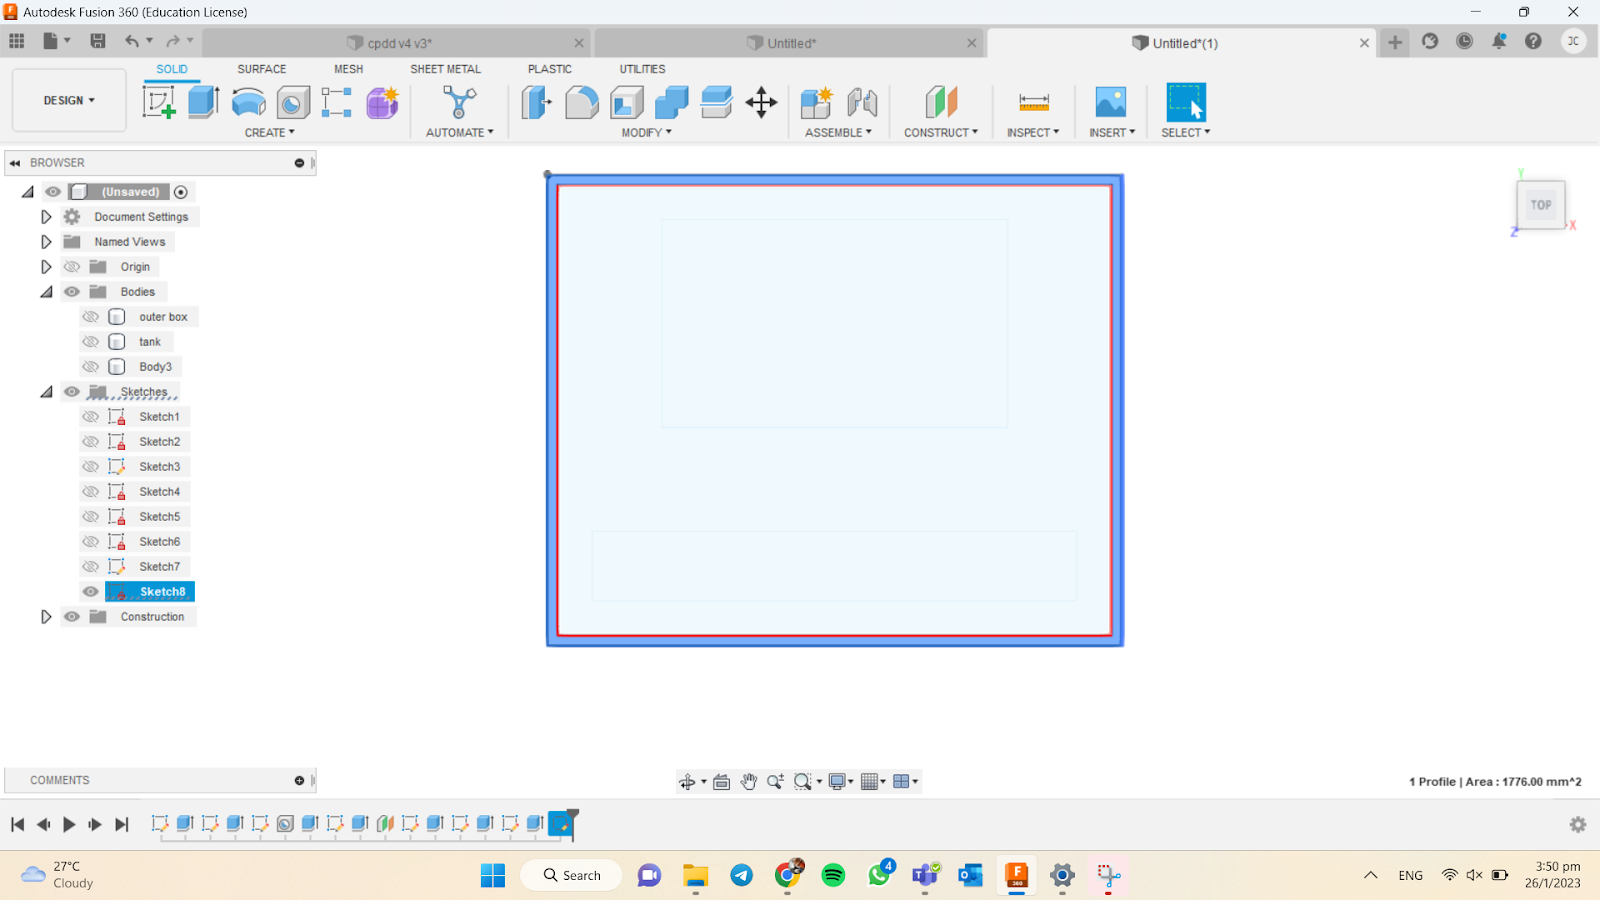
Documentation for task 3 Top cover Step 1: Select the top most part of the tank and “Create Sketch”
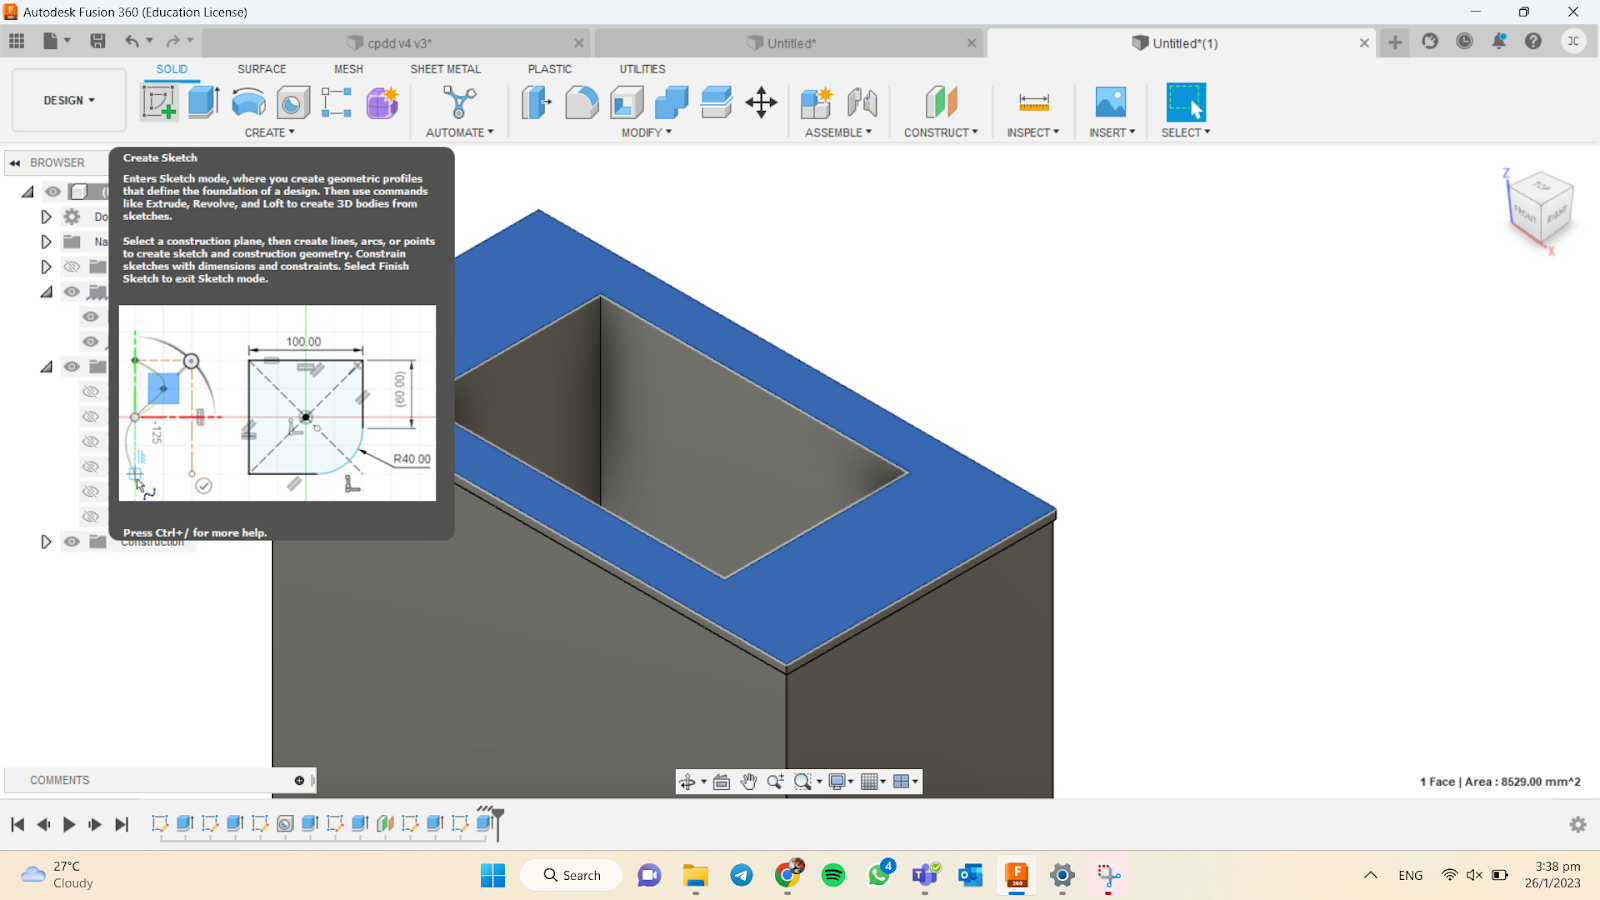
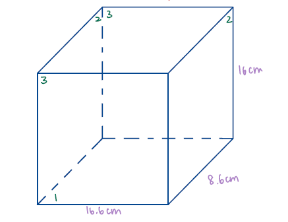
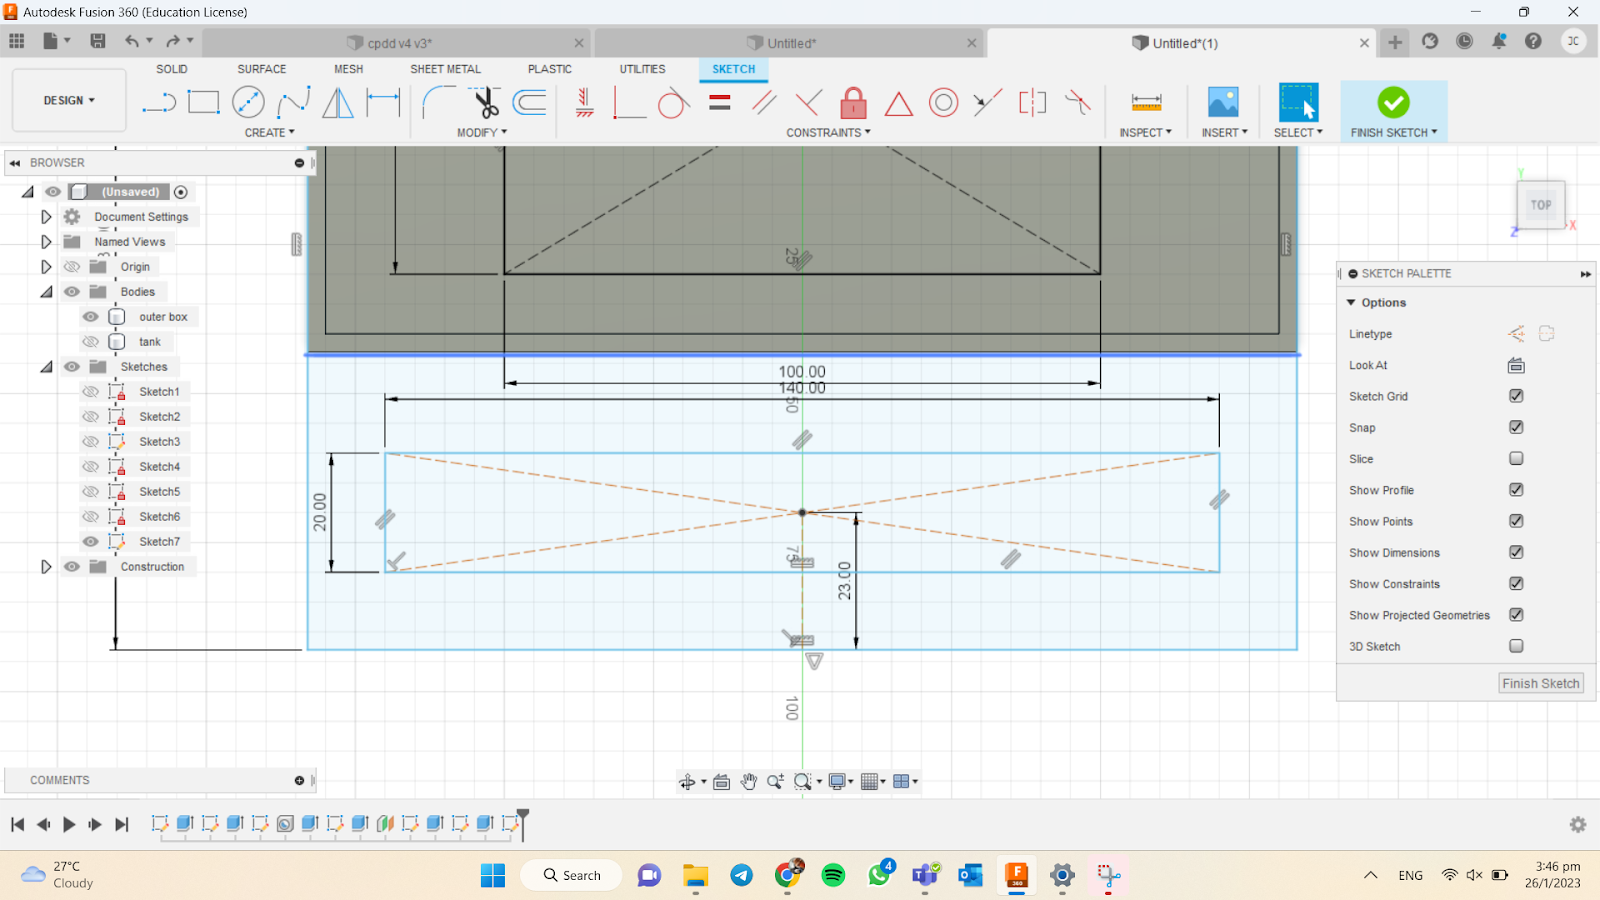
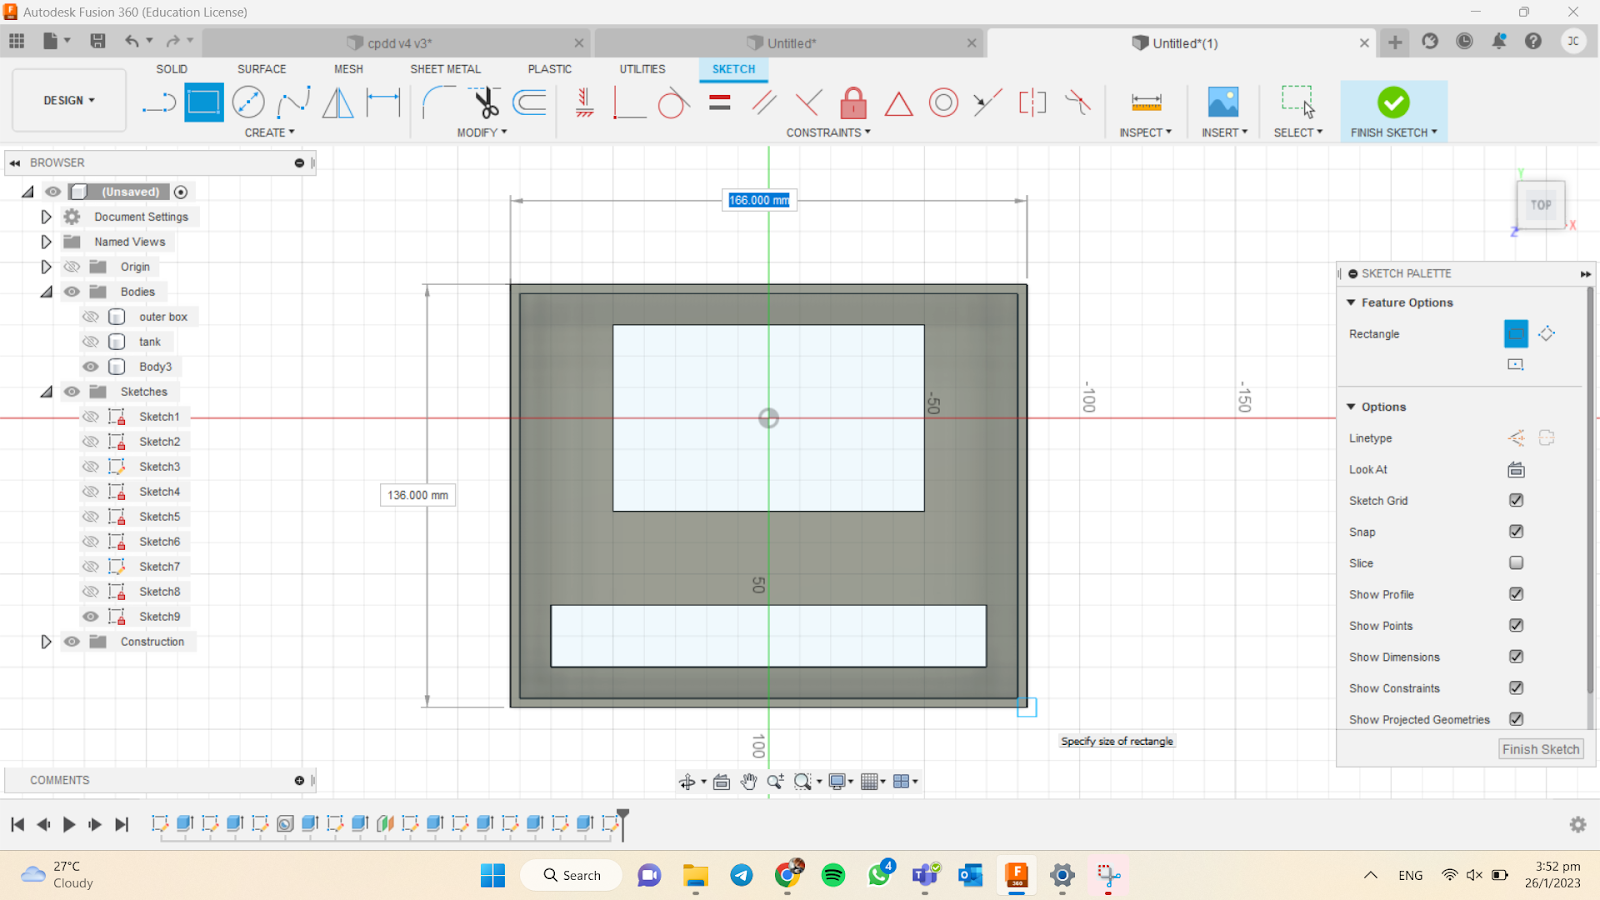
Step 2: Hide the body of the tank and the outer casing. Select “Create” and “Rectangle”. Values input: 166mm x 136mm

Step 3: Select “Create”, “rectangle”, “Center-rectangle” at the center point. Values Input: 100mm x 60mm

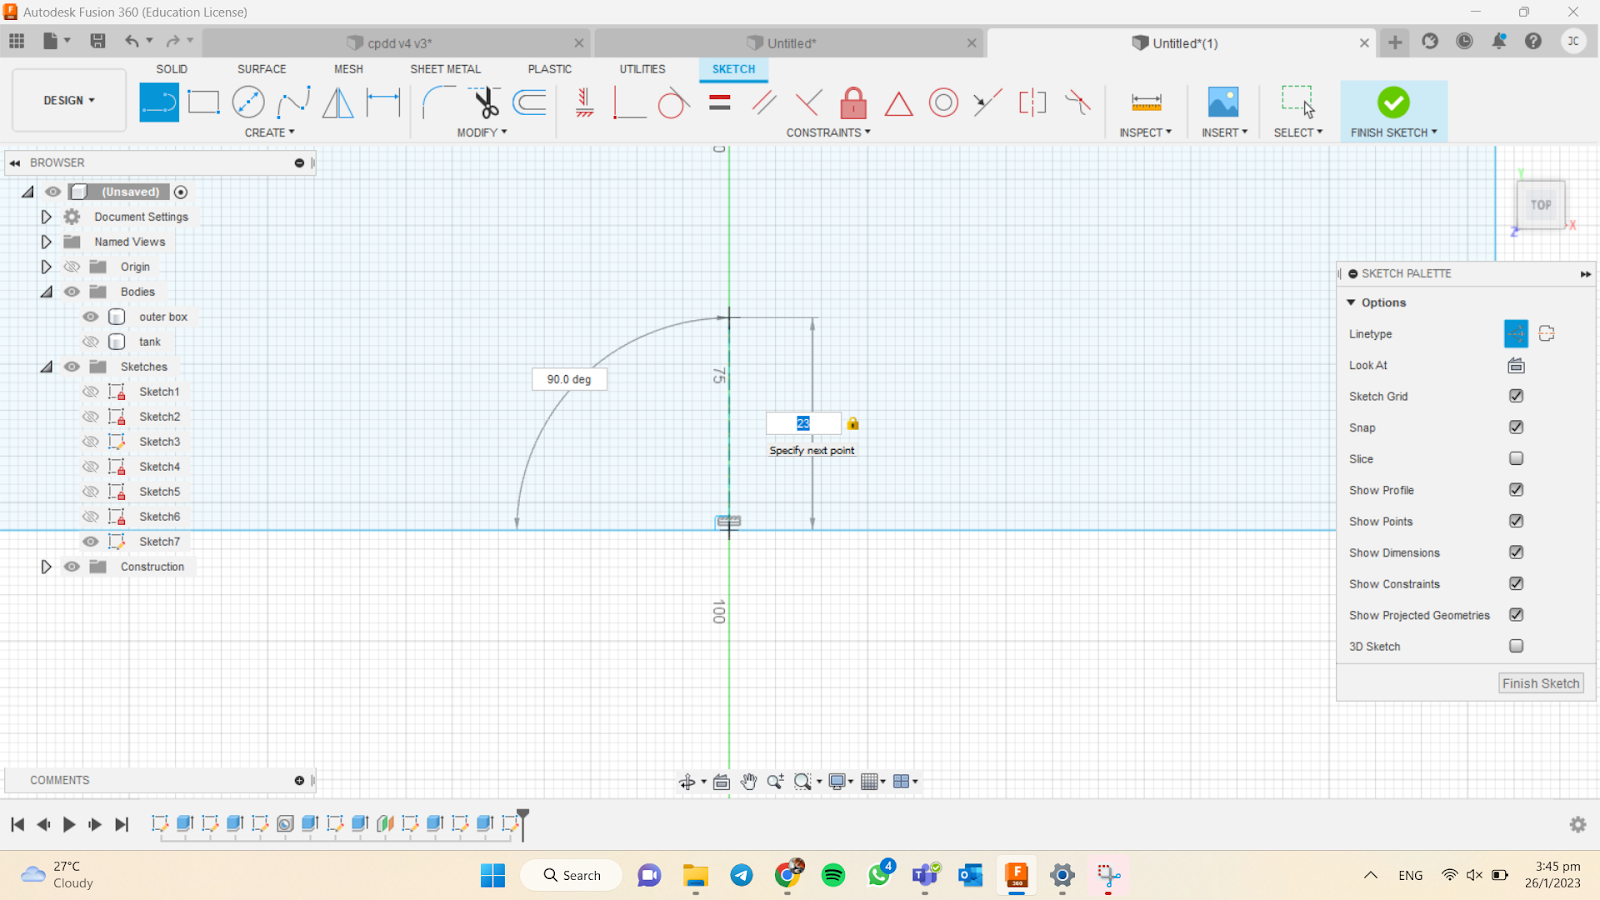
Step 4: Select “Create”, “line”, “construction mode” At the center point of the bottom of the sketch. Values Input: 23mm
Step 5: Select “Create”, “rectangle”, “center rectangle”
Values input: 140mm x 20 mm
Note: Remember to deconstruct the construction lines
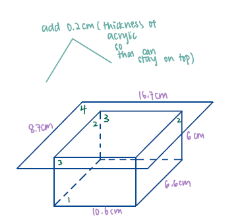
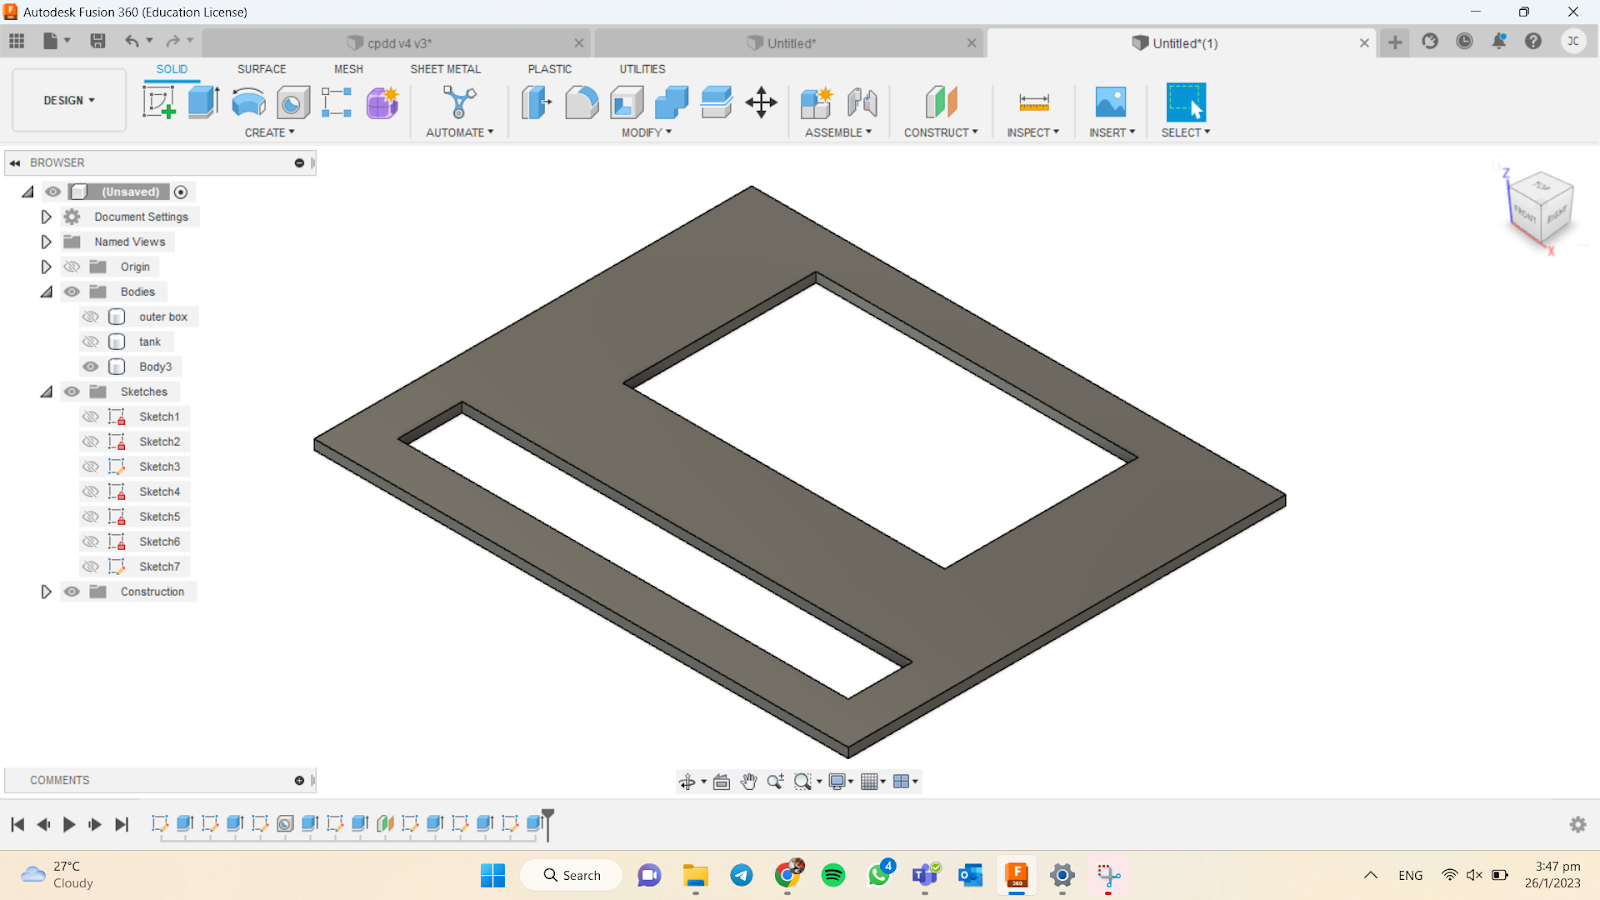
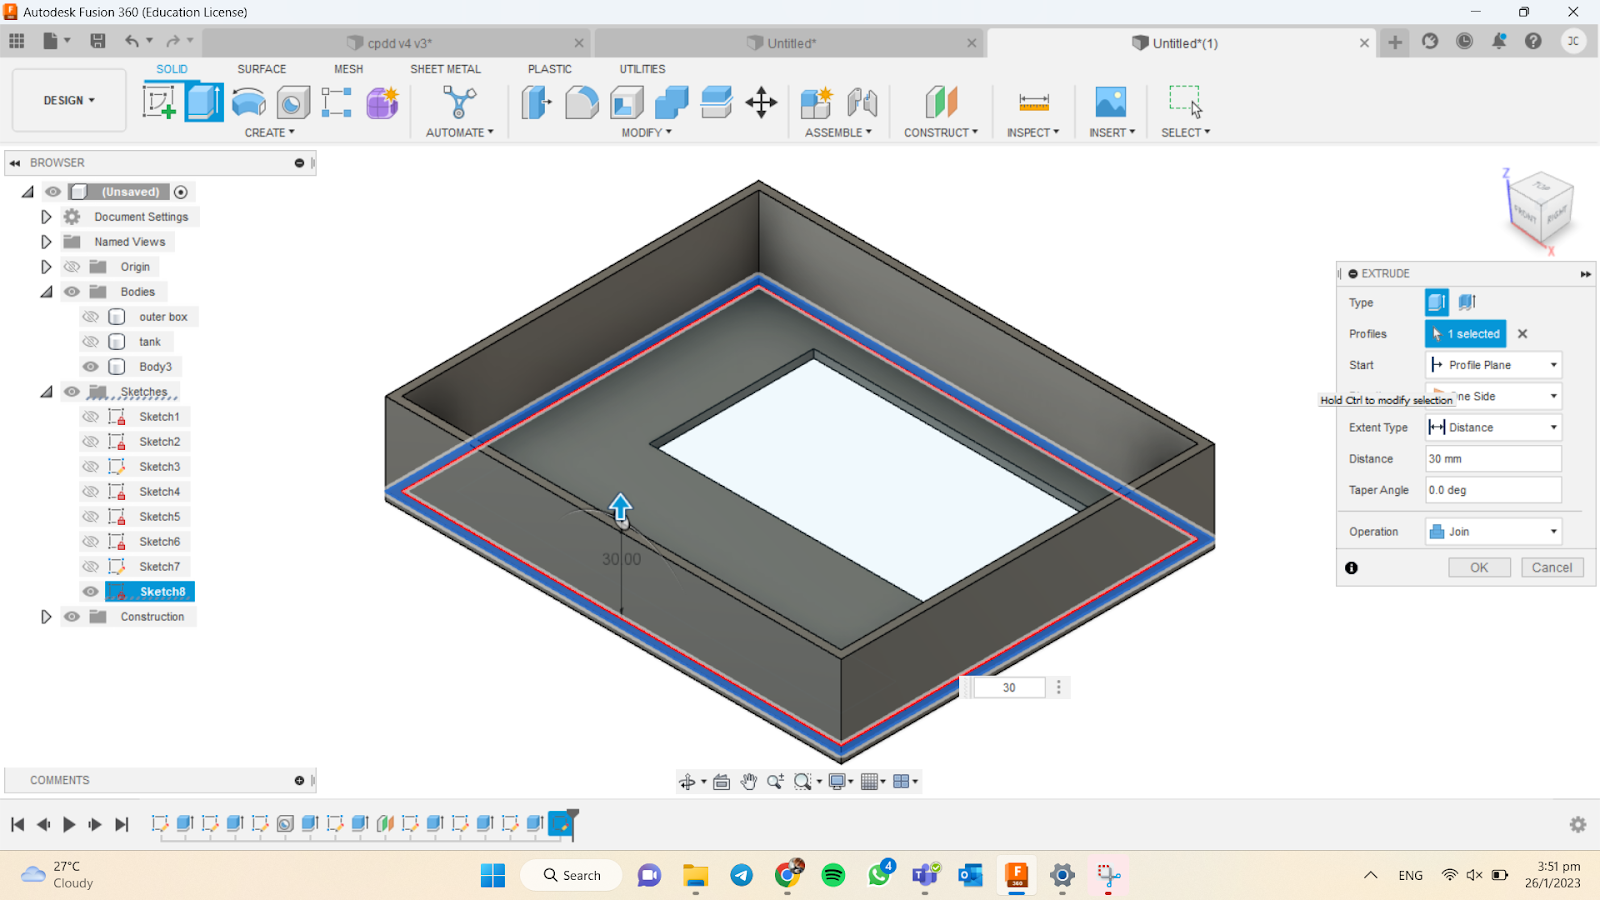
Step 6: Select “Finish Sketch”. Select figure as shown below, and extrude: 3mm
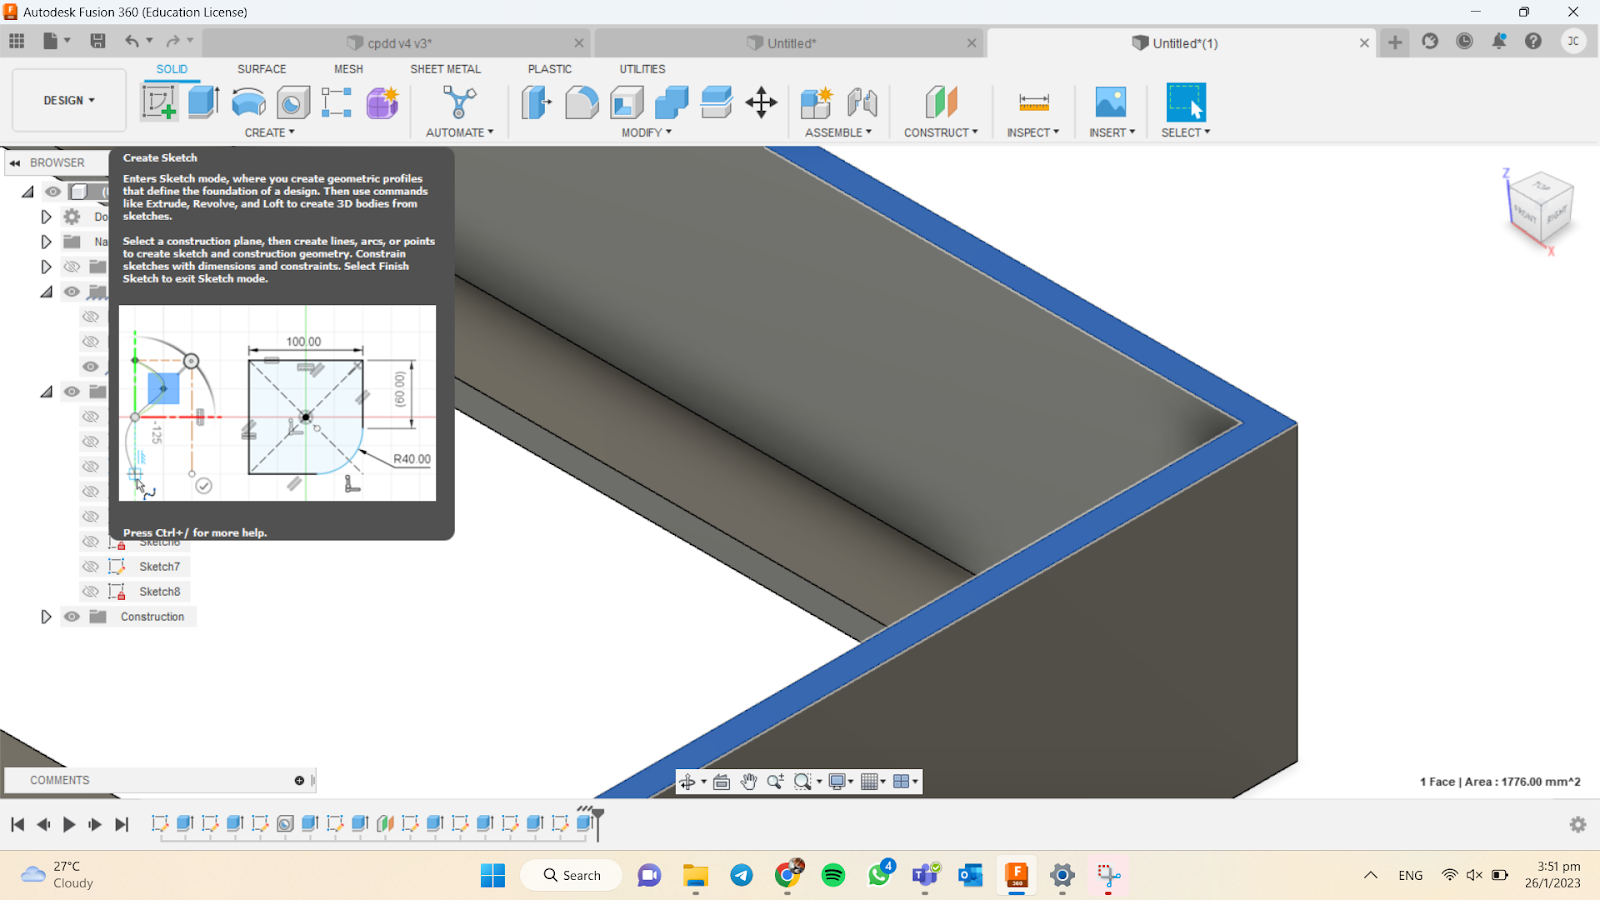
Step 7: Click on the top layer of the body, and select “Create”, “Sketch”
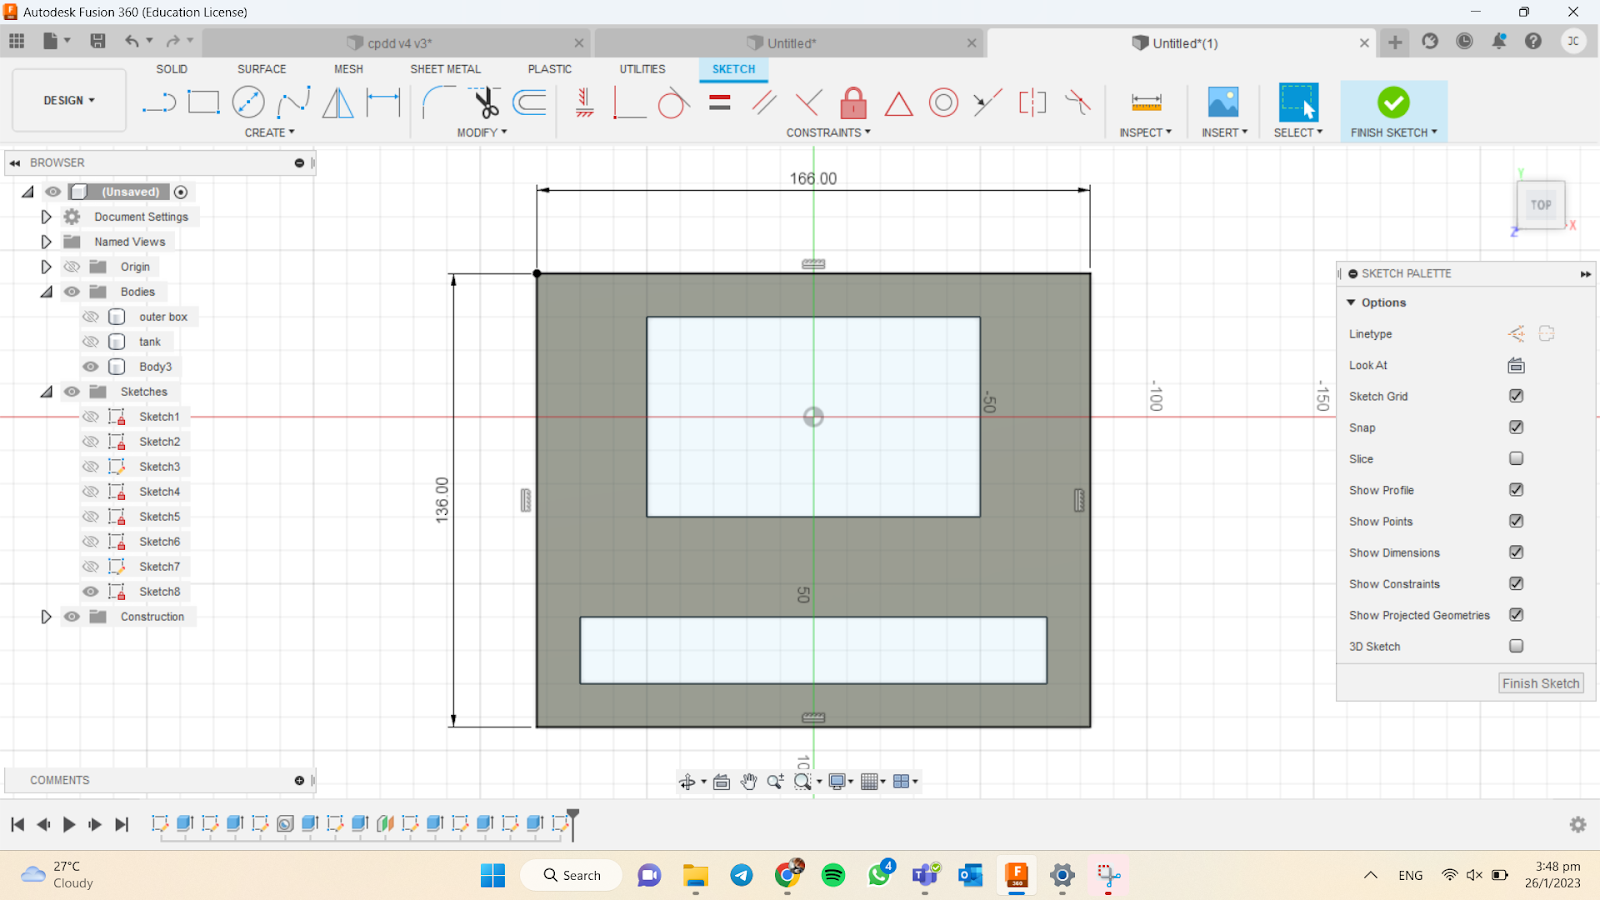
Step 8: Select “Create”, “Rectangle”. Values Input: 166mm x 136mm
Step 9: Select “offset” Values Input: 3mm
Step 10: Select on “Finish Sketch” and Select on the outer edge of the created sketch.
Step 11: Select “Extrude”. Value input: 30mm
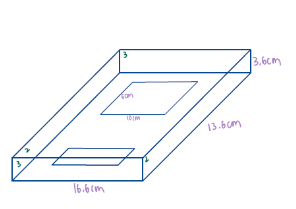
Step 12: Select on the top layer edge
Step 13: Select “Create”, “rectangle”. Value Input: 166mm x 36mm


Step 14: Select “Finish Sketch” and select the finished sketch
Step 15: Select “Extrude”. Value input: 3mm Finalised Top View:


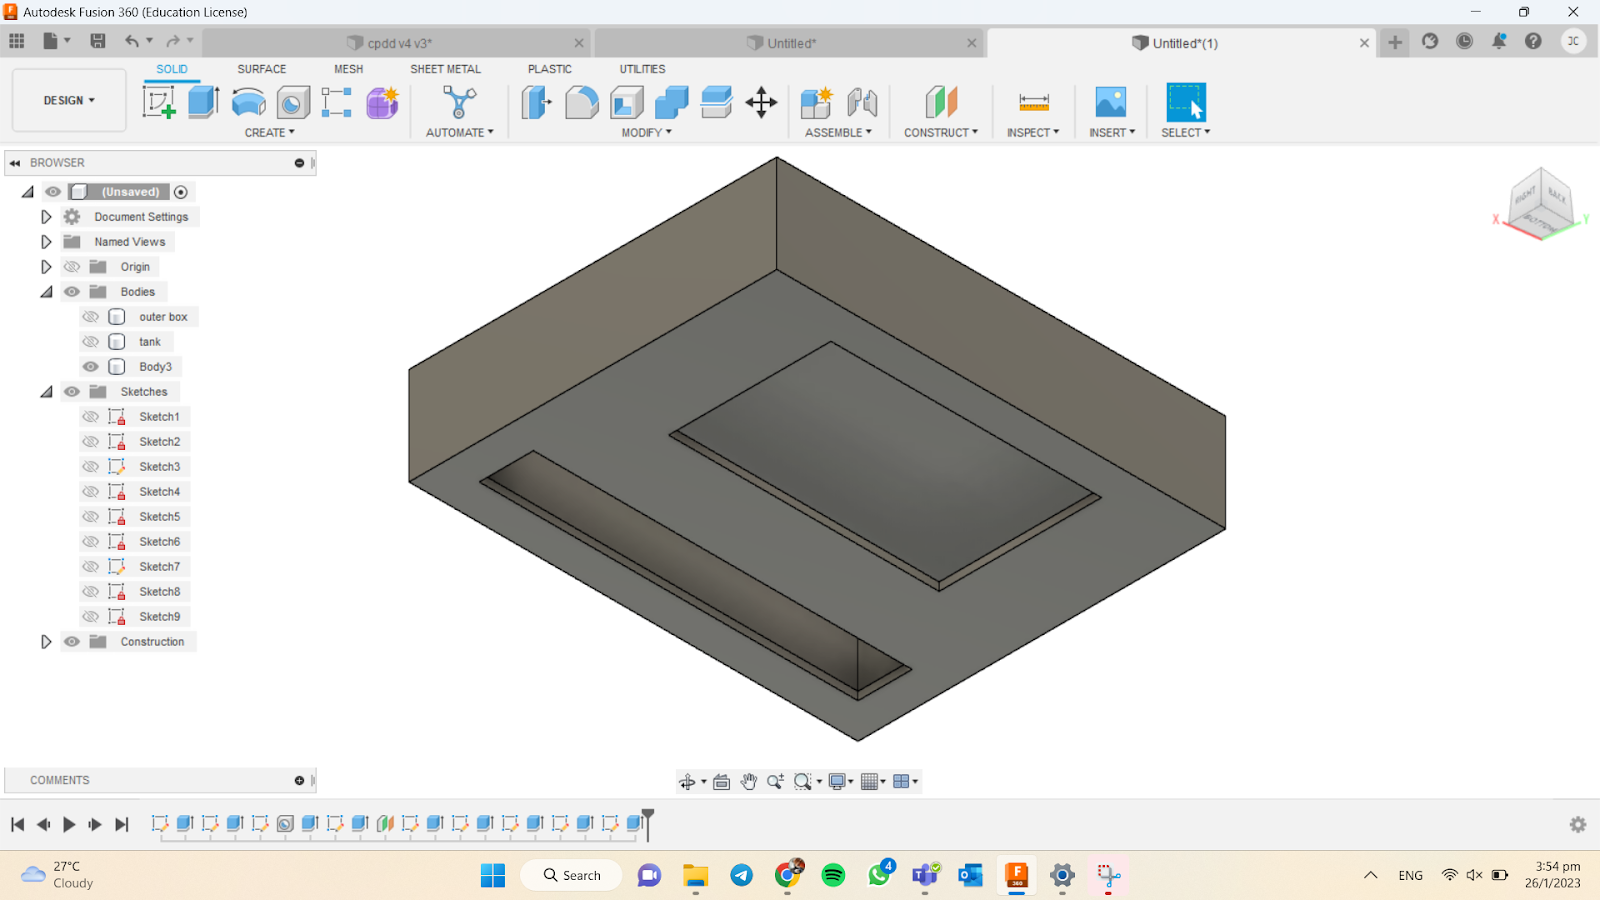
Hero shot for task 3.
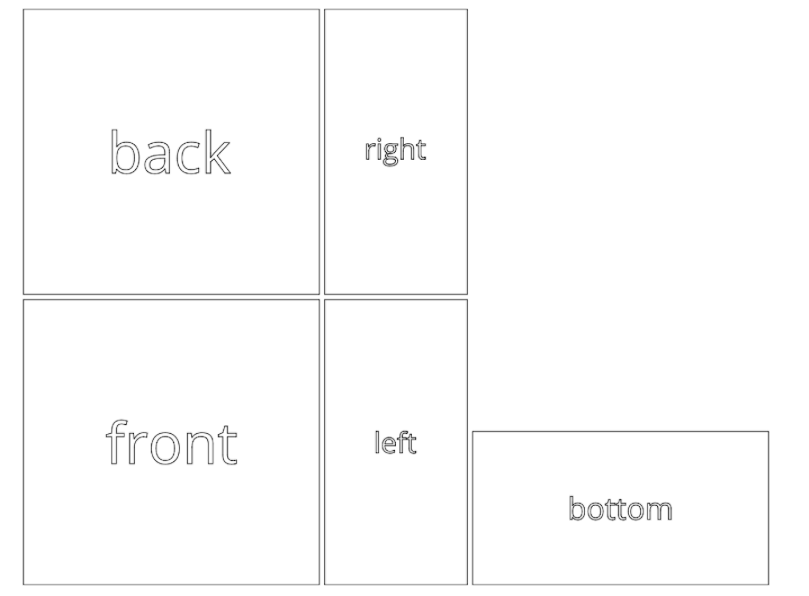
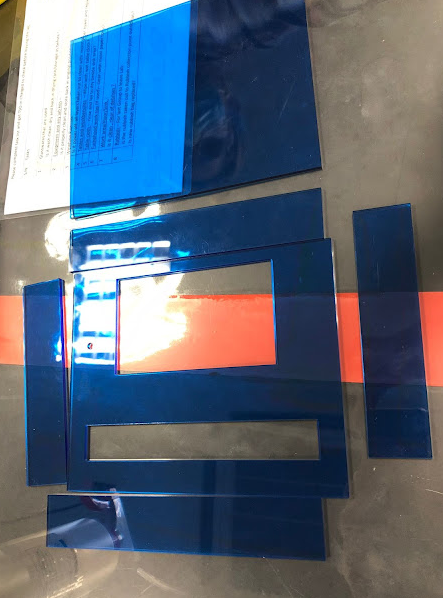
For our laser cutting, since our product is mostly made out of boxes … we used a website instead of converting them individually to DXF files. (recommended by DR NOEL) https://en.makercase.com/#/


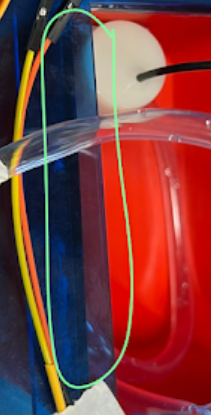
Part 4. Printing of Tank (done by Glenn) https://cp5070-2022-2b04-group1-glenn.blogspot.com/ Part 5. Design and printing of nozzle (done by Hariz) https://cp5070-2022-2b04-mohammad-hariz.blogspot.com/ Part 6. Programming of LED, Infrared sensor, Servo and Pump (done by Tristan) https://cp5070-2022-2b04-group1-tristan.blogspot.com/ Part 7. Assembling of everything Step 1: Layout the outer casing Step 2: Glue the outer casing together and use tape to secure it Step 3: Super glue acrylic sheet to tank (Mr DIY) Step 4: Glue the top part together and use tape to secure it Step 5: Piece it all together Video of us piecing it together


https://drive.google.com/file/d/19Kr_76sbk90si_KcbpJLUkLzOAAipVa1/view?usp=sharing
Hero shot with finalised DOOR SANITISER

Final product in action
https://drive.google.com/file/d/1KYxLmPXv-hbmv64NyNcBZnnWfVlGWYzX/view?usp=sharing 4.Problems and solutions
In this section I will describe the problems encountered in the design and build process and how the team solved them.
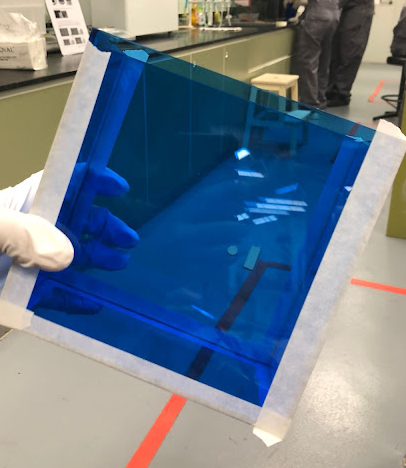
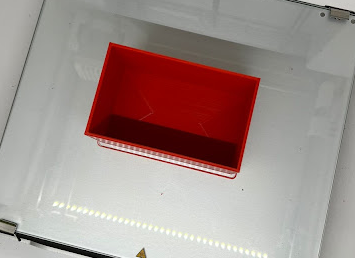
Problem 1 and how we solved it Problem: Tank was leaking and flimsy Solution: To resolve this, We reprinted the tank using a different infill pattern. Pattern: (tri-hexaagonal) as it is stronger when compared to grid infill density. We also used the ultimaker to print. The new tank would be the one in red you see above.
OG tank: Video of it leaking https://drive.google.com/file/d/1aEoYyhXsiSEJ3UluupGYIg0GQ_yv3-A2/view?usp=share_link
Problem 2 and how we solved it
Problem: The volume of alcohol (water) that is pumped out by the tank was too much to the point it splattered. Solution: Lower the operation time of the pump as the capacity of the pump cannot be changed. This will decrease the volume of alcohol being pumped out. Video: https://drive.google.com/file/d/1Igm7TzTMF60hEfFa70-6LsDBCSRr5MTb/view?usp=share_link
Problem 3 and how we solved it
Problem: The opening of the interface and the most top layer is not aligned to each other.
Solution: Was not solved as it did not affect the process and it was more of a design issue.

5. Project Design Files as downloadable files https://ichat3372.autodesk360.com/g/shares/SH9285eQTcf875d3c53953814497f95393e0?mode=embed 6.Below is my Learning Reflection on the overall Project Development. This experience was a fun and enriching one. Compared to ICPD there are a lot more skills we could make use of to create our prototypes. One example would be laser cutting where we needed to book our slots day before the day we want to cut it as the slots were always so full. We even used the cardboard skills in ICPD to make a prototype of our prototype. I also learnt that communication is very important and it is vital to keep all members in the loop. This will ensure the entire group is at the same pace. I also learnt that SIMLIM was my second home as I went there 4 times in a span of 3 days and I think the uncle at the shop recognizes me already. Time to get a job at SIMLIM.
Comments
Post a Comment